Why hello readers! It has been a while! Do not worry – we have not forgotten about you. With the kitchen ALMOST done, there have been a lot less updates to post. The past few weeks have been focused on smaller kitchen projects. Although the projects are small, they can still be time-consuming which is why we are not finished yet.
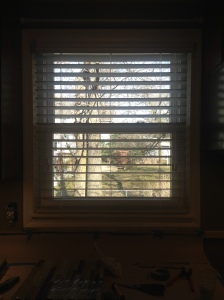
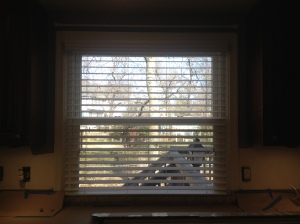
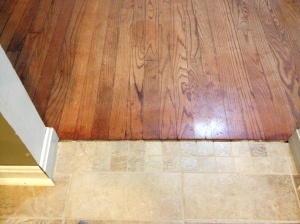
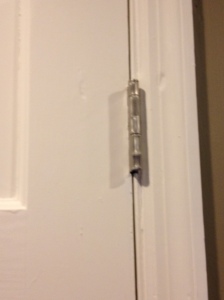
The smaller projects have included adding trim to the windows and archway. We also needed to add quarter molding around the walls of the kitchen. Jim put up new shades and curtain rods for the windows (the curtains have been ordered) and I spent a LONG time cleaning the windows. Apparently after 4 1/2 months of construction – windows get really dirty. We also painted all the trim and added some finishing touches like new doorknobs to doors leading to the bathroom, basement, and garage (those doors were also painted). Here are some pictures I took along the way:

New door handles! (I didn't take a picture of the old ones before Jim removed them - use your imagination)
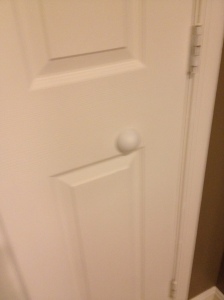
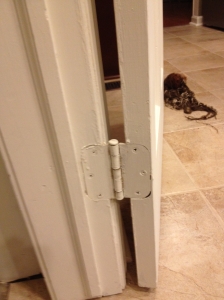
We added a door bumper to the bathroom door so it won't have a hole in it (it previously had a hole from the garage door opening into it!)
With these smaller tasks completed, we were left with the last two big tasks of the kitchen. The backsplash above the countertops and the crown molding along the tops of the cabinets. We ordered the backsplash from the same store we bought our kitchen tile (shockingly not Home Depot). The store has an awesome selection and we were able to get something we both really liked. It arrived two Fridays ago, so we decided to do the backsplash first.
We ordered glass tile for the backsplash. There is a lot of similarities between applying floor tile and applying a backsplash. You need to cut it to fit into place, use mortar to set the tile, and then finally apply grout. Even with our tile experience – we still thought we might get the first two steps done in one day. We were wrong.
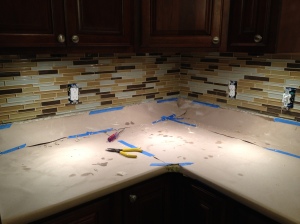
There are a few steps that are different between laying tile and applying backsplash. Some of them had to do with preparing the space. We needed to protect our new and beautiful granite countertops from any mortar and/or grout that may be spilled. It was also suggested to start the backsplash slightly above the end of the countertop. This meant taping down cardboard along the edge of the countertop. The cardboard provided the perfect amount of space between countertop and backsplash starting point. With the cardboard there, we could rest the backsplash while we applied to the mortar. Otherwise it may be hard to hold in the right place. We also needed to pull the outlets from the wall a little because they would need to have a different end point once the tile was up. It was also suggested to sand the walls and roughen them up a little. This would help make them more adhesive. Another prepping step had to do with behind the stove. We needed to included backsplash behind the stove, but there was no countertop to use as a guide. Instead, Jim hammered on a 2 by 4 to the wall so we could use it as a guiding point. It worked wonderfully.
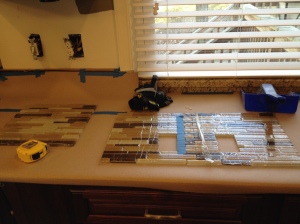
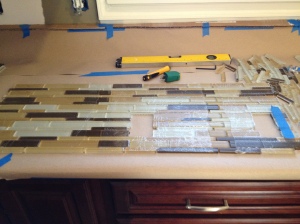
As you may remember from our tiling, we needed to lay out all of the tiles to make sure they fit and cut where they needed to be cut. There needed to be a hole for all seven outlets. While measuring and cutting all the tiles, we wondered why we didn’t just decide to have one outlet. Luckily, with the smaller tile, we did not need to rent the wet saw again. Jim had a tool that could cut the glass tile. We worked all day Sunday. When it got to 7pm, we realized we may not be able to mortar the same day. Measuring and cutting out tiles is very, very time-consuming.
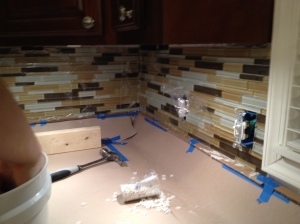
Monday, after work, we were both ready to mortar. We got started around 5:30 and finished around 9. Overall, applying the backsplash to the mortar went smoothly. We only had one section where the measurement was off, so we used other pieces of tile and swapped them out. Since our backsplash is a bunch of different smaller glass tiles, it wasn’t too difficult to replace pieces. If a tile was scratched or broken, we also replaced it. Here is how our tile looked Monday evening:
Tuesday was our grouting day. We got started closer to 6pm that night and finished after 9 – almost the same hours as before. We needed to take the plastic off the tiles before we got started. Jim put the grout down with the grout float and I wiped it smooth with the sponge (same jobs as before). The grout was a different texture than before which made it a little harder to work with for both of us. Almost, there was less room and a lot more space to fill grout (there is grout between each tile). It took a long time (considering the space), but we did finish in one night. Phew. My hands were pruney but no injures this time from wringing out the sponge.
It took us through Wednesday night to finish everything up. Jim added silicone in the space where the cardboard was while I cleaned up the counters and did one more wipe of the backsplash. We also had to put all the outlets back in place. We were finished putting everything back in place around 8 – it was great to have dinner a whole hour earlier that night!
Finished product:
We are ONE step away from a finished kitchen. We are actually holding off on that step for just a few days. We’ve been ignoring the rest of the first floor for the past 4 1/2 months and it needs some TLC. Since the crown molding is just a finishing touch, we are going to come back to it after working on our other rooms. When we finish the crown molding I will place before and after shots – STAY TUNED!


