Two weekends ago was the groundbreaking for our next project – the basement. When we moved into this house, the basement was finished. This is a nice bonus…most of the time. Now, don’t get me wrong – we have used parts of our finished basement in the past year, but as a whole, it has been largely ignored. This is due to the layout of the finished basement.
The stairs going down to the basement were completely walled in. You could not see anything except the base of the steps until you arrived at the base of the steps. It was like a tunnel entering the basement. The tunnel theme continued as you turned the corner and there was a hallway that led to the laundry room. Off of the hallway were two rooms. The rooms almost felt like bedrooms in a basement. There were closets in each room, but neither of them had doors. Everything was carpeted but not with the same color carpet. One of the rooms had a black and gray carpet – the majority of the carpet was black but there was a gray border about a foot wide along the edges. It was weird and ugly. The laundry room was sort of finished, but it felt very unfinished. It had wood paneling on the walls and an ugly linoleum floor.

From the top of the stairs, looking down the tunnel to the basement

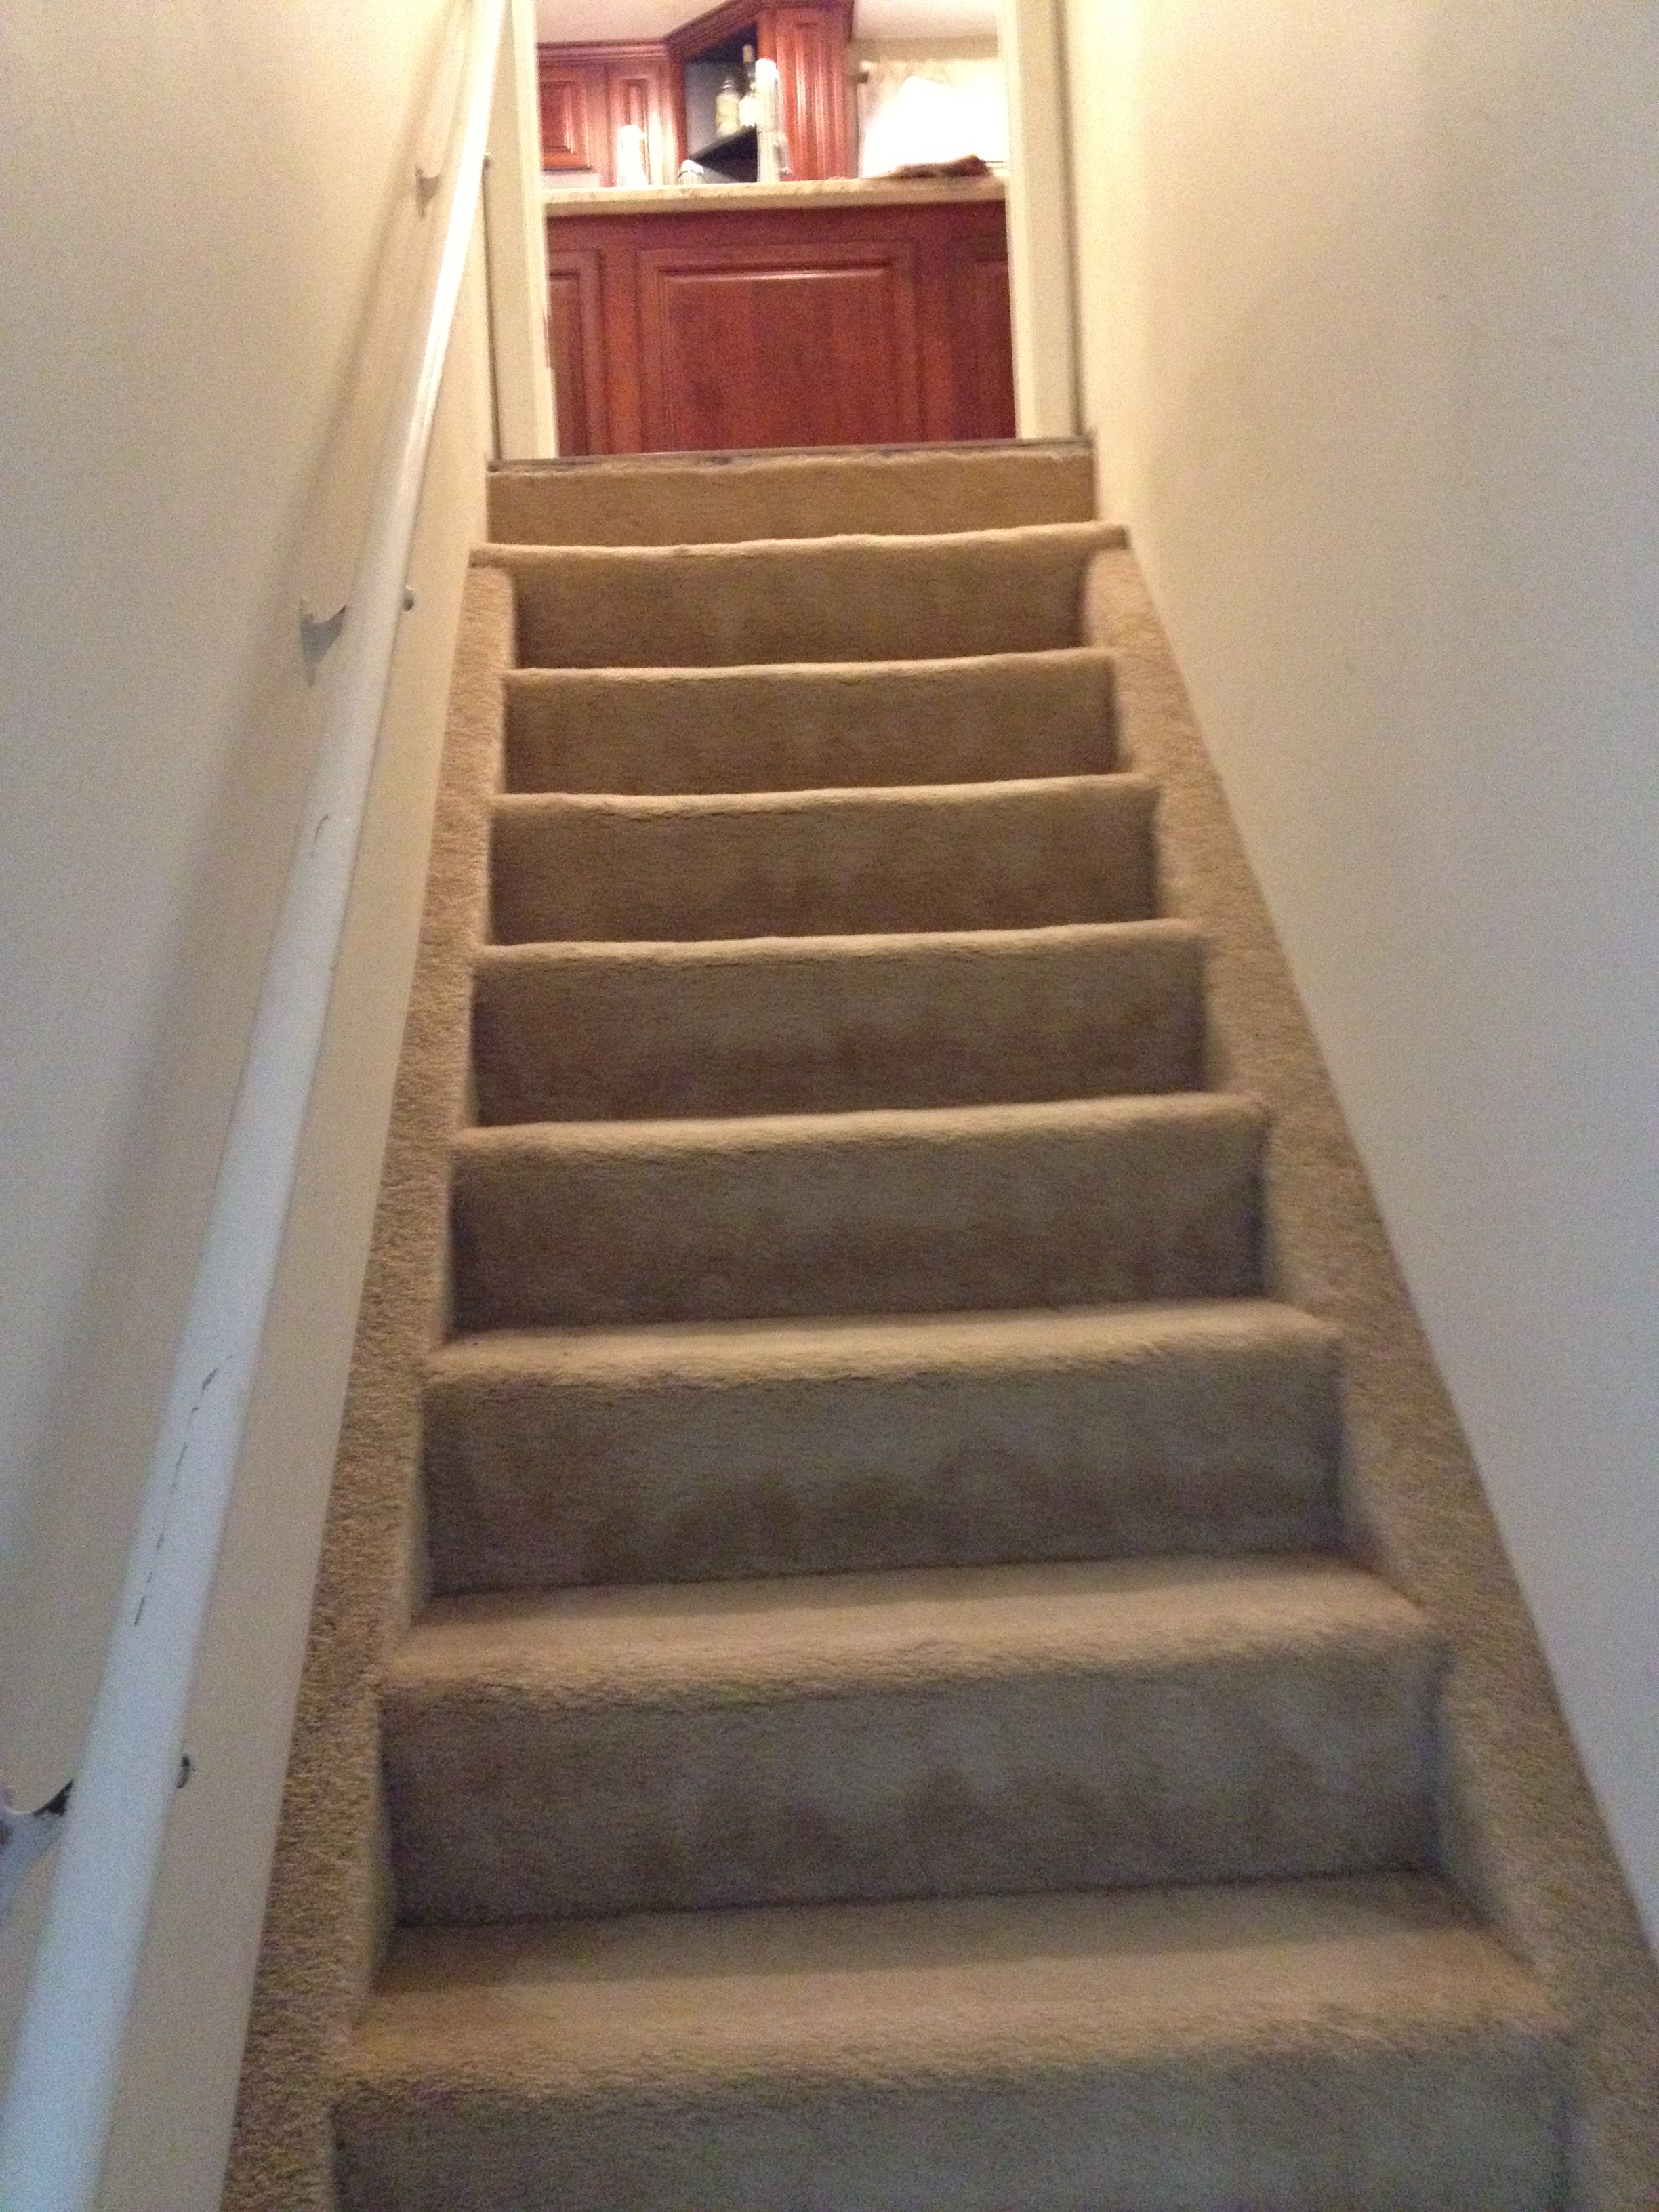
Looking up the tunnel from the bottom of the stairwell
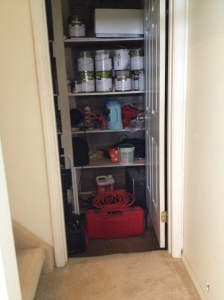
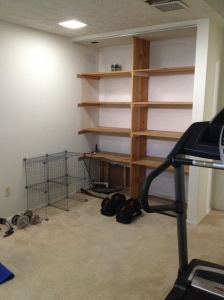
This is a view of the storage room where we keep all our tools – we aren’t planning on changing this room for now

The hallway leading towards the laundry room

Room #1

View 2 of room #1
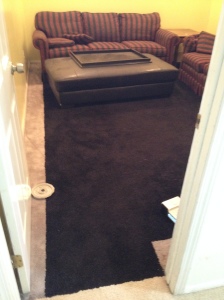
Trying to get a good shot of the ridiculous carpet
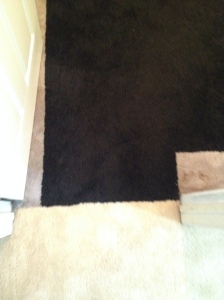
Closer view of the carpet

Closet in room #1

Another view of room #1

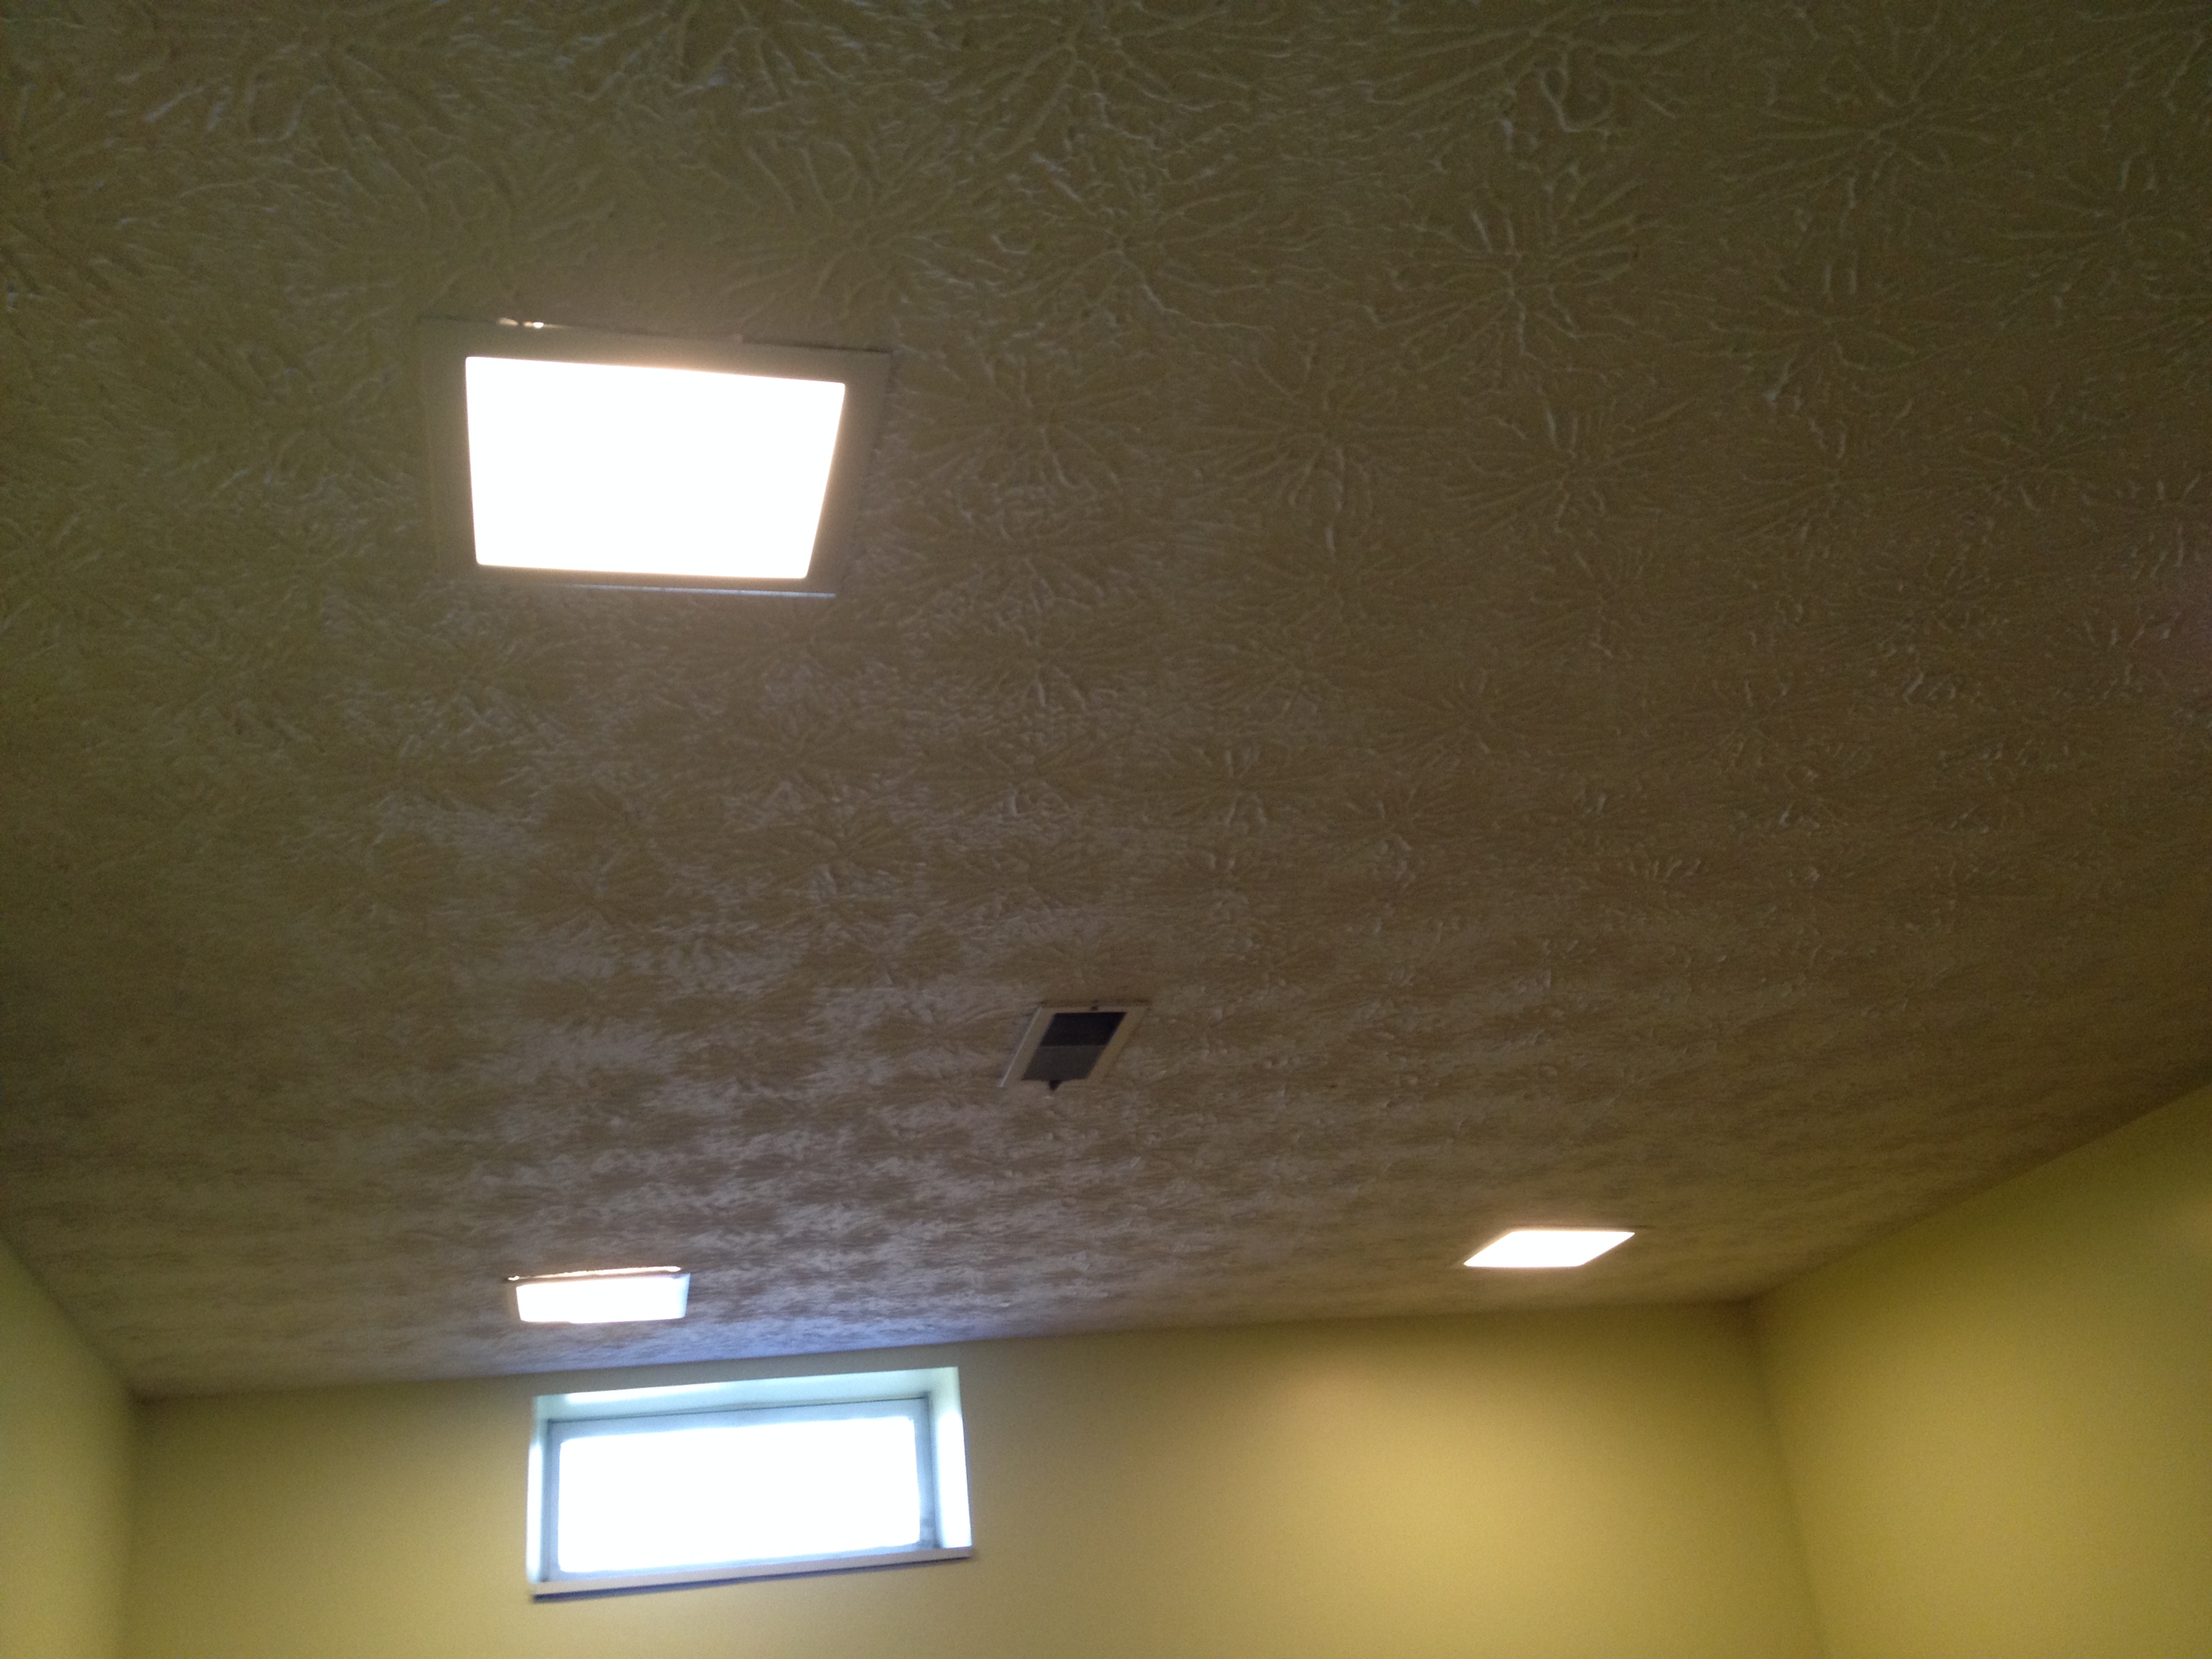
Lights and ceiling in room #1

Doors to the laundry room and room #2

Room #2

Another view of room #2
Closet in room #2

The sump pump also in the closet in room #2. The cover of the sump pump is uneven. I thought this was because they built a wall over part of it but after tearing down the wall, it is clear they didn’t make the hole in the cement the right size for the cover. We are going to try to remedy this situation.

Weird hole in the ceiling of room #2’s closet – this is where you can access the shut off valve for the faucet in the backyard…because that makes a lot of sense…

Ceiling and lights in room #2

Drop down in ceiling for ducts in room #2

The wall between the two rooms (view from room #2)
In addition to the cosmetic changes needed in the basement, the entire layout of it did not make sense to Jim or me. When we were house hunting, we saw one house further away from DC that had the exact same layout of this house. Seeing that house led Jim to convince me to give this house a chance since we saw the potential of the house. In the house we looked at, the basement was finished into one room. It looked great. That layout made much more sense to Jim and me. Therefore, the plan for the basement was established.
The first weekend was focused on tearing down walls and disconnecting most of the lighting. When tearing down the walls, we not only had to take down drywall but also take down the framing of those walls which were nailed into the cement. It was exhausting. Even though we removed most of the lighting, we kept the lighting in the laundry room and the tool room so we would still have light. After the walls were down, we needed to bring all of the debris up the stairs and out into the garage. We might have gone up and down the stairs 500 times. Not fun.

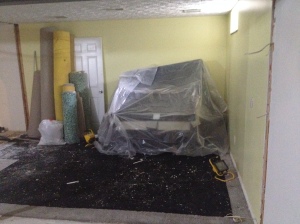
We stacked the couches and covered them before the demo started

Treadmill covered in corner before the demo

In the middle of demo – drywall gone!
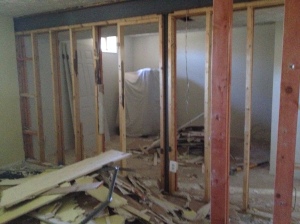
Only the frame of the two walls left

Frame of the wall in the hallway

Some of the debris…
There was a fear that one of the walls would be a load-bearing wall and we would need to figure out something to do in order to take it down. Instead, we found a post with a large beam hidden behind one of the walls. Luckily, there was only one post, which isn’t that bad. A lot of basements have posts in them. It also gave us the peace of mind that we didn’t take out a load-bearing wall that would make our house collapse.

Jim checking out the post

Frames and walls gone!! (only the post is left)
In former room #2 taking a picture of former room #1

The beam leading to the post

The ducts and beam are near each other in the ceiling
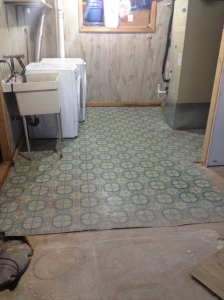
The laundry room with its wonderful linoleum floor and wood panels (the wall separating the laundry room from the main room is now gone).
We originally planned to leave the ceiling in place and just cut holes in it when necessary when adding the new recessed lighting. The more Jim thought of it, the more he thought the ceiling had to go. Part of me expected this to happen. Therefore the second weekend was devoted to getting the ceiling down and then taking down the old recessed lighting and electrical wiring out of the ceilings. We also gave the basement a good cleaning. Jim removed half of the carpet in the area we plan not to re-carpet as well. After that weekend, we thought we were pretty close to being finished with the demo.
Fast forward to this past weekend. We rented a dumpster to get rid of all the debris we collected from the demolition. Since the dumpster arrived on Saturday, we decided we should tear down the wood paneling and peel up the linoleum flooring in the laundry room to throw in the dumpster. After removing some of the wood paneling, Jim realized that were was not insulation behind the walls. This got him to thinking about the rest of the walls. Was the basement not insulated? The only way to know for sure was to look behind the walls. We cut a hole in one part of the wall. I hoped and hoped that there would be insulation behind it. There was about 3 feet of insulation behind the drywall. It clearly wasn’t doing much to insulate the basement. We had to decide between leaving the drywall in place and not insulating the basement or tearing down the walls and adding insulation. Guess which one we chose…
While Jim tore down the remaining drywall in the basement, I got to work loading the dumpster with all of the debris. Hours went by and neither of us were finished. We hit a snafu when the dumpster filled up and we still had trash left. We decided we would have to just start bagging what was left and spend the next few weeks gradually getting rid of the trash through regular trash collection.

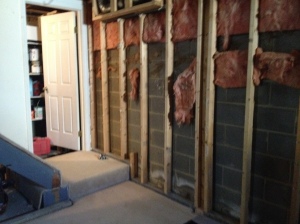
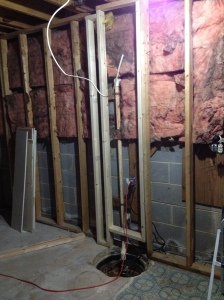
The basement down to the studs…

The second half of the basement
Another view

View of the stairway without the tunnel (we opened it up by removing part of the wall)
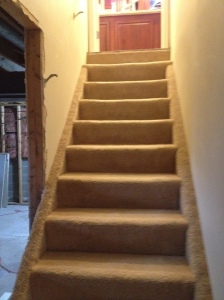
The new view of the stairs from the bottom – a little more open than before
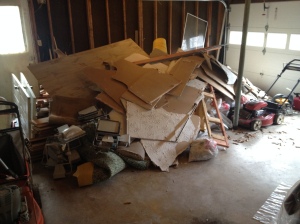
The debris in the garage before it went in the dumpster
The other problem we encountered dealt with the linoleum floor in the laundry room. Jim was having a really hard time getting it up, so he had me research the best way to do it. In my research, I came across a lot of helpful hints but also a warning that linoleum flooring used to be made with asbestos. It stopped after the 70’s but our house was built in 1978. Neither of us are sure if our linoleum is the kind made with asbestos. We were going to take a small piece and get it tested, but the linoleum has been so difficult to get up, we started looking into other options. It seems like many people just put new flooring over the old linoleum flooring. This seems like the best option for us.

You win for now linoleum…
With all of the demolition completed (or so we think), today was focused on the new walls we are adding. Since we tore down the walls that closed off the laundry room from the rest of the basement, we need to re-build walls to separate the two rooms. We are moving where the laundry room starts and also the side of the door. We are making the closet a smaller width but deeper with the opening in the laundry room. Jim mapped out all of the frames for the walls and bought a ton of lumber and other supplies at Home Depot. After lying out one piece of wood, we noticed a problem with the length of the wall – it came too close to the laundry room sink. Jim had to re-think all of his measurements and plans. He was able to still build one new frame that was needed to change the location of the closet.
The new wall frame Jim added (it is the newest looking wood)
Throughout all of our projects in this house, we have found remnants of the former homeowners along the way. The demo of the basement led to the strangest discoveries so far. It seemed like every time we tore down a wall, we would find something behind the wall. The most common thing we found was loose sheets of drywall. Why they would store so much extra drywall within the walls, I have no idea. There also was a lot of coins. We would knock something down and get pelted with nickels and dimes. I kept hoping we would eventually find one million dollars stuffed somewhere, but alas, no such luck. The strangest thing that we ended up finding were bullets stored behind the ceiling. That’s right; bullets…in the ceiling. As a anti-gun person, this completely freaked me out. Why on earth would someone store bullets in their ceiling? Did they kill someone with one of those bullets and didn’t want evidence of owning them so they hid them in the ceiling? Jim told me not to jump to that conclusion. He said maybe they were trying to keep the bullets away from their kids. I guess that could be it…but they also wouldn’t be able to access the bullets without cutting a hole in the ceiling…so part of me thinks that can’t be it. I guess we will never know the true reason that bullets were in our ceiling.

The bullets that fell from the ceiling when we tore it down…so weird!