It has been over a month since the last update and we have been busy at work. There has been a few huge (for Virginia) snow storms during that time that kept us inside and working on the basement. With the wall insulation done, we started adding drywall. Installing drywall is always a very exciting step. It helps you really see the room come together. We had a good system in place in which I would measure and cut most of the drywall while Jim hung up the pieces that I cut. There were two sections of the main area of the basement in which the wall frames were shorter than the wall frames next to it. This meant that once drywall went up, the wall would either not be level or there would be a weird bumped out edge in the middle of the wall. Jim caught the problem before we ordered drywall and planned to attach two layers of drywall to the shorter wall frames. This actually worked perfectly. The first layer of drywall made it so the wall was lined up with the rest of the wall frames. It took a little bit of extra time, but it was worth it to have a seamless wall. Most of the drywall for the main area of the basement went on without a hitch but when adding drywall around the post in the middle of the room, Jim encountered some problems. The wood we used to frame the post was warped. Therefore, the drywall would not lay flat against the wood. Jim chiseled away enough wood in order to make the wood posts level. This took a lot of effort. Later, when doing the rest of the beam, Jim decided to use wood shims instead. This worked out easier and just as well for leveling the drywall.

The beginnings of the drywall
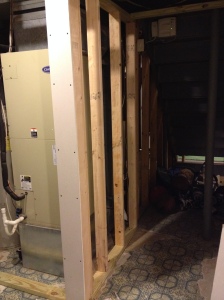
In the laundry room, it was a little more challenging. We had to work around pipes while also moving the washer and dryer out of the way. We planned to close off the water heater and a/c unit behind a closet which meant Jim needed to build some wall frames and bulkheads for the closet doors and support beam. There was a lot of creative calculation at work in order to ensure the wall was parallel to the other wall. Once all the framing was in place, we were able to easily finish the drywall. There were some places are waiting to drywall (near the door to the laundry room, around the stairway, around one of the windows) due to additional steps we have not yet completed. All and all, the walls weren’t too bad.

The wood after Jim chiseled away at it
Next came the ceiling. We decided to “sound proof” the basement to the best of our ability. We will have a treadmill in the basement as well as surround sound for TV/movie watching, so we thought it may be beneficial in the long run. Jim looked into a variety of sound proofing and decided we would do two things: 1) Use insulation designed to minimize sound (it is called Safe and Sound) 2) Use Quiet Rock drywall which is supposed to supply the sound proofing of 8 sheets of drywall in one sheet. Before we could install the drywall on the ceiling, we had to install the sound proofing insulation. This wasn’t difficult, just annoying at times. The insulation crumbled really easily. We had to be very careful picking it up and stuffing it in between the beams. Also, gravity was working against us and all of the little shredding of insulation were falling into our faces. On top of that, the Safe and Sound insulation as smelled really bad. I got used to it after a while, but it was pretty gross at first.

The Safe and Sound insulation in the ceiling

More Safe and Sound

Last one
Once the insulation was complete, we were ready for the drywall. We rented a drywall lift (we rented one in the past when remodeling the kitchen). We wanted to try to get this done in one day because we needed to rent equipment. We thought this was doable since we bought a cool tool that easily cut out holes for recessed lighting, outlets, etc. We had a system in place from installing drywall on the walls, so this should be easy-peasy. Right? No, not right. The Quiet Rock drywall sheets look like two thin pieces of drywall stuck together. We assumed cutting the Quiet Rock would be the same as cutting regular drywall. It wasn’t. With regular drywall, you can measure and trace out your cuts. With a utility knife, you cut into the line you marked. You won’t be able to get all the way through the drywall easily, but that is ok because after you start the cut, you can bend the drywall and it breaks smoothly along where you cut. Quiet Rock does not do that. It is thicker and does not break. After trial and error, a hand saw meant for drywall was our best bet. That meant we had to physically saw each piece. The pieces are 8 feet by 4 feet long. Imagine sawing line that are 8 feet long…over and over again. You get the picture? It was exhausting and time-consuming. We worked all day but by 9 pm, it was clear we weren’t going to finish. This was the Sunday before President’s Day. I had to work the next day (stupid snow day make-ups), but Jim had off. We decided to call it a night and Jim would finish most of the ceiling the next day. We ended up renting the lift for two days and got 90% of the ceiling done during that time. We had smaller pieces that we finished later without the lift. We completed the bulkhead with the Quiet Rock as well since it is also part of the ceiling. Before we could install the drywall there, we had to fix the air vents. Previously, there were just holes in the ducts without a connection to the registers on the ceiling. These could result in a lot of air loss. We went to Home Depot and searched for possibilities to attach the duct to the register. We came up with a solution that works nicely. After this past weekend, the drywall is completed everywhere it can be (not in the places we still have to do other work) and we have the beginnings of our basement.

Drywall (almost) complete

Another view of the ceiling

Beam complete

Bulkhead complete

The laundry room now its own separate room

Drywall in the laundry room coming together

Water heater and a/c unit before the wall frames

One frame is up!
The other frame!

Framing all drywalled

Another shot

Closet in the laundry room all drywalled!
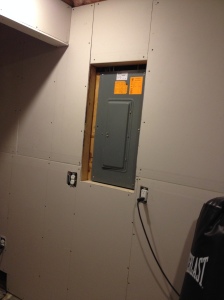
Drywall around the utility box
Now to the windows. Our basement had two small 14 by 32 inch windows. They were up high and in pretty bad shape. We decided we would replace them with new windows with removable window panes. With the window panes removable, people could escape in case of an emergency. We were all set to do this until the inspector came for the insulation inspection. Even though this was the third time we had an inspector out to the basement, it was the first time anyone mentioned an “egress window.” Egress windows are windows designed to be large enough for a firefighter to climb in or a person to climb out of in an emergency. Code requires the window opening to be no more than 44 inches off of the inside ground. It also has to have a much larger opening than 14 by 32 inches. Luckily, code only requires there be one window. Our yard slopes downward so one of windows was actually pretty high above ground and adding in egress window there wouldn’t require too much digging underground. To install an egress, we would still need to dig a well on the outside of the window as well as cut a hole in the side of the house. We called some contractors to get estimates. The estimates ranged from $2,400-3,600. This was going to cost a pretty penny that we did not include in the budget. Jim researched everything required to complete the project and decided we could do it ourselves. I was worried. Mainly, I didn’t want a big hole in the side of the house without us being able to fix it. Jim estimated that if we did it ourselves, it would only cost about $800. This was a significant saving in cost. Jim knows he can always convince me of something if it is going to save us money, so I was (cautiously) sold on the idea. We replaced the one window with a new window of the same size and then prepared for installing the egress window.

Old window – not cute or easy to open

Old window removed

Jim installing the new window

New window – nice, clean, and easy to open!
The other weekend, we had unusually warm weather predicted. No rain in the forecast with highs in the 50’s and 60’s. This seemed to be the perfect opportunity to work on the window. We prepped as much as we could on Friday. We had to take down the insulation and framing we had already completed. We also set up plastic sheeting around the window to try to contain the dust produced from cutting into the cinder blocks. Jim also read we should create a barrier on the floor to prevent the water used with the saw from spreading everywhere.

This is the window before we started working
Framing and insulation all gone

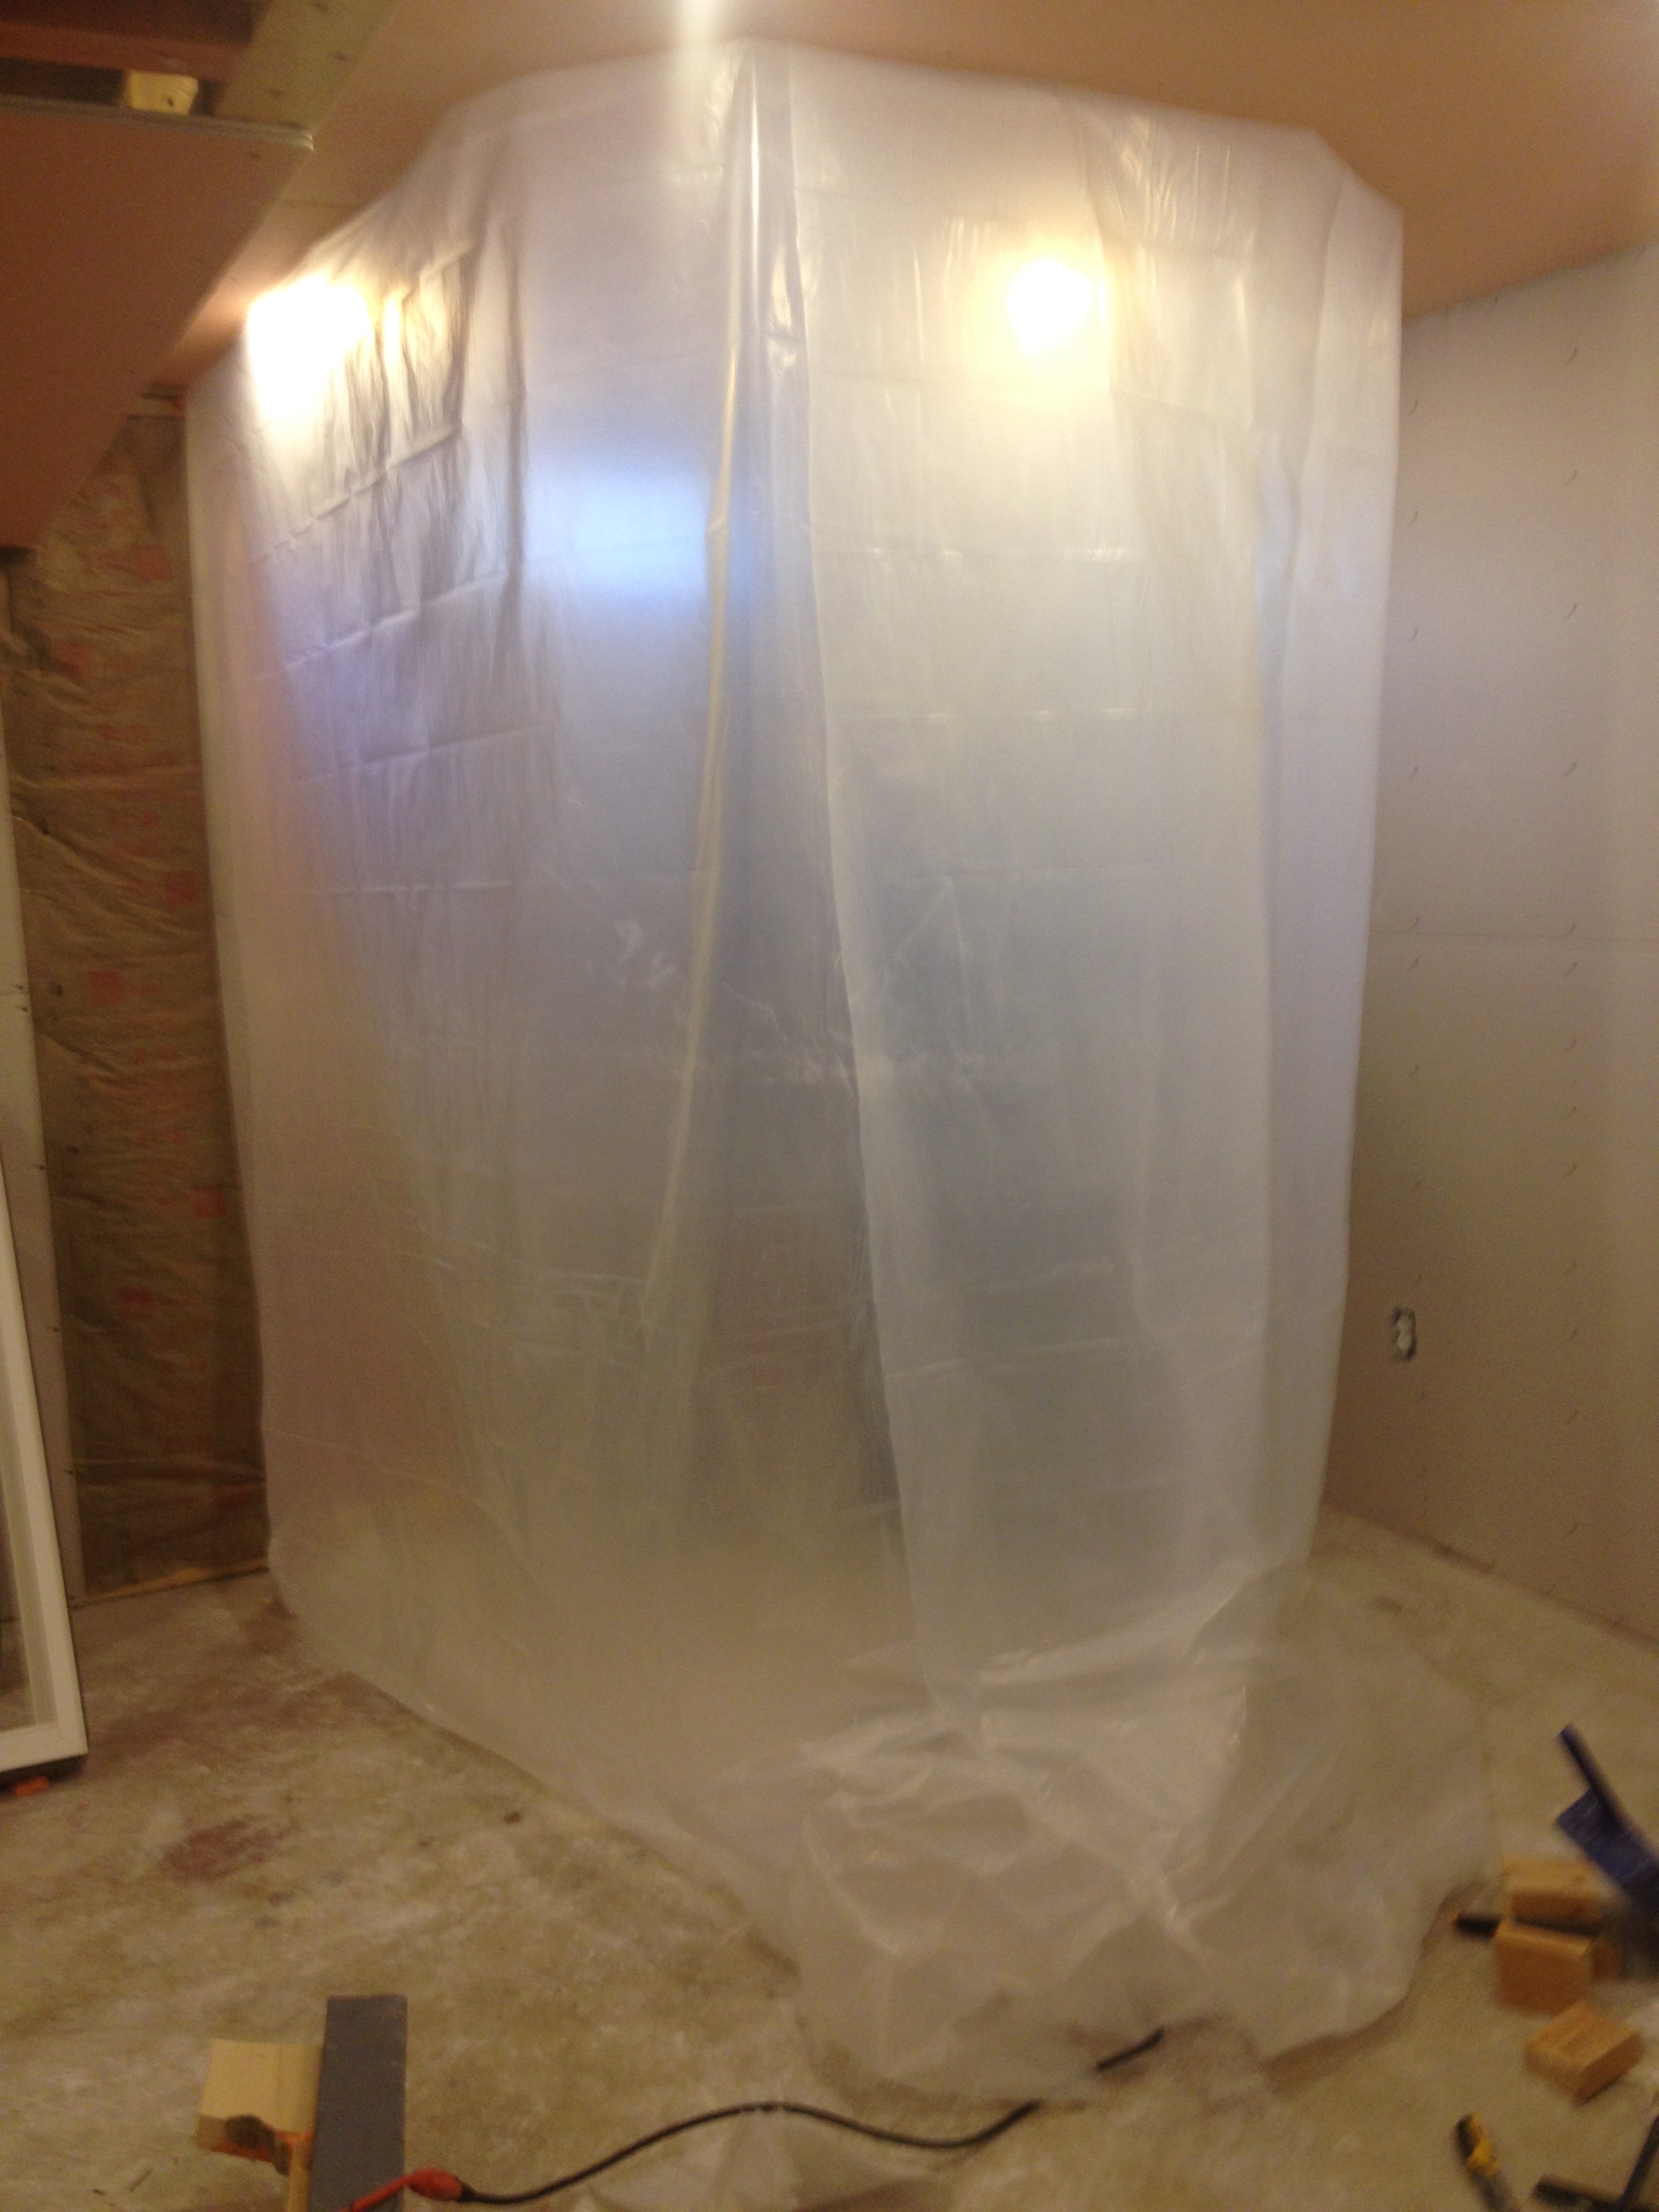
Prep for the cutting – the plastic sheeting, very “Dexter”

Our foam barrier for water collection
Saturday was the day for digging the well. Parts of the ground were still frozen and we had to chip around the first inch or so before we could dig. We needed to dig a well that was 3 ft by 3 ft and 16 inches deep. The side of the well furthest from the house also needed a trench, 6 inches deeper, to help with drainage of rain water. The worst part about digging was the mud. The ground was so muddy from the snow. Our shoes had inches of mud caked on them. It felt like you were walking in some sort of clown shoes. It was also hard to get good footing because the mud was slippery. Neither of us fell face first into the mud, although I came close a few times. We needed to make sure the well was sloped away from the house towards the trench to help with drainage. You don’t want to go to all this trouble to have rain water just sit at the bottom of the well with nowhere to go but into the house. We were able to get the well dug out and with the right slope in about 2 1/2 hours. Once the well was dug, we needed to add landscaping fabric along the sides as well as gravel to help with drainage. After a few tiring and muddy hours, the trench was complete. We also decided to drill holes at the corner points of the new window. This was to help Jim when he was sawing through the cinder block to make sure each side was lined up. Since we had some more time on Saturday, we decided to rent that drill and complete this Saturday. You could say this day went well. (See what I did there?)

The window from the outside – before the well.

Our well!

Another view of the well

The landscaping fabric in place

Gravel all done

The lines drawn and holes drilled
On Sunday, we rented the saw we needed to cut through the cinder block. The biggest blade they had was 16 inches. This was a circular saw, so it would cut about 7 inches into the cinder block. Jim had to cut on the inside of the house and then on the outside of the house to get through the whole 12 inch cinder block. As with anytime you cut into brick, you need to add water to the saw (like the wet saw we have used in the past) to help with the friction. My job was to spray the saw with water while Jim cut. He had carefully measured where to cut. The saw was big and heavy. It was not easy to hold up against a wall and cut. Luckily, I have a super strong man who could manage this job. Jim took his time cutting along the lines. There were a few scary moments when the saw would jump up out-of-place. We think it was probably because the cinder blocks were hollow, so the change between hollow space and block would throw the saw off. Jim had incredible control and nerves. I kept praying for Jim to finish and for both of us to have all limbs attached when he was done. Outside of the scary moments, the cutting went smoothly. Jim knocked in the cinder blocks and we had officially had a hole in our wall!

Cinder blocks gone!

Another view with less sunlight in the way
The next steps involved adding new cement on the cinder blocks that were exposed to help strengthen them. We then needed to add a 2 by 6 as a window sill and put the window frame in place. We removed the window panes before putting the window frame in place. Jim worked on leveling the window and waterproofing it from the outside. We were finishing up the window, so I went on an errand. I came back 45 minutes to find Jim just finishing with the window panes. Apparently, the window frame bowed out in the middle when we installed it without the panes. When Jim tried to put in the panes, he could not get the window to close. He had to undo the whole frame, put the panes in the frame and re-install it. All of his waterproofing work was undone. Since it was already late at this point, Jim put up a tarp for the night and fixed the waterproofing the next day. Since that weekend, the weather has gone downhill – including another big snow storm yesterday. We are glad the window is in and we can keep rolling with new projects.
The end of Sunday night – window in place!
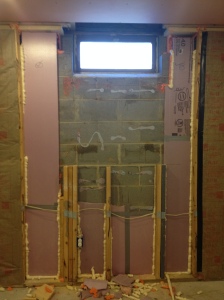
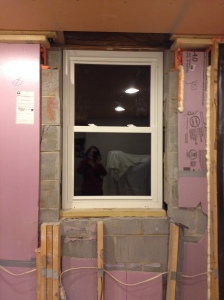
This past weekend, Jim rebuilt the wall frames around the egress window. We needed to redo the insulation (foam and fiberglass batts). The window adds a lot of natural light into the room and is overall a great addition.

After the amazing framing job – looks like a pretty fine window to me!

Window with all the insulation done as well!

Another ceiling picture that I didn’t put in earlier because you can see the new window in this picture!